


The Ultimate Guide to Waffle Makers: Crafting Perfect Breakfasts at Home
Waffles are more than just a breakfast item; they’re a canvas for culinary creativity. Imagine biting into a warm, fluffy waffle adorned with a drizzle of syrup, a dollop of whipped cream, or a sprinkle of fresh berries. The best part? You can create this delightful experience right in your kitchen with a waffle maker. But with so many options available, how do you choose the right one? Let’s dive into the world of waffle makers and unravel the secrets to crafting the perfect breakfast.
Understanding Waffle Makers: A Brief Overview
Waffle makers come in various shapes, sizes, and styles. At their core, they consist of two hot plates that cook batter into the beloved grid pattern we all know. But why settle for just any waffle when you can have the perfect one? The key lies in understanding the different types of waffle makers available.
1. **Classic Waffle Makers**: These are your standard round or square waffle makers that produce traditional Belgian or American waffles. They’re user-friendly and perfect for beginners.
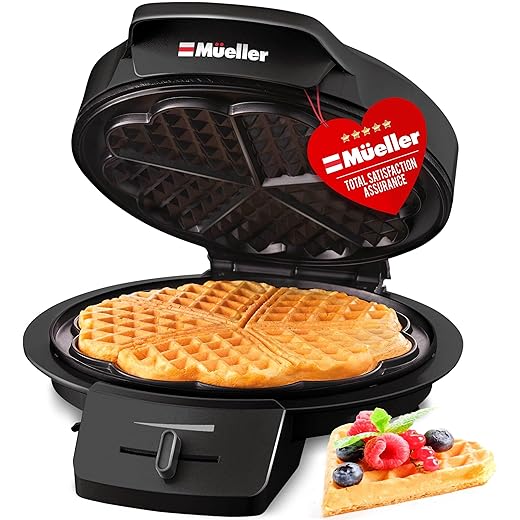
2. **Belgian Waffle Makers**: Characterized by their deeper pockets, Belgian waffle makers create a thicker, fluffier waffle that can hold toppings beautifully. If you love a hearty breakfast, this one’s for you!
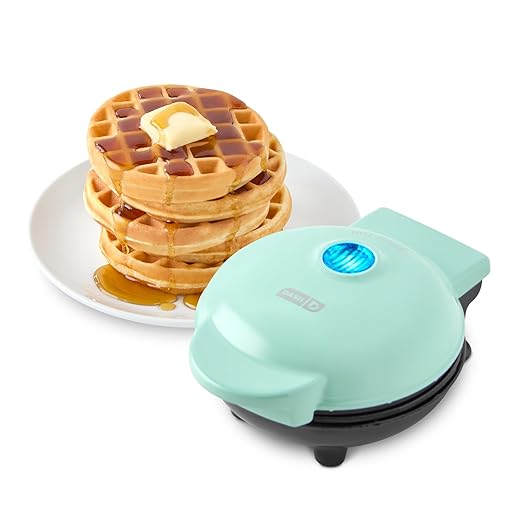
3. **Mini Waffle Makers**: Perfect for single servings or cute presentations, mini waffle makers are compact and ideal for those who want to indulge without overdoing it.
4. **Flip Waffle Makers**: These innovative devices allow you to flip the waffle during cooking, ensuring even heat distribution and perfectly cooked waffles every time.
Features to Consider When Choosing a Waffle Maker
When shopping for a waffle maker, it’s easy to get overwhelmed by the multitude of options. Here are some essential features to consider that will help simplify your decision-making process:
1. **Non-Stick Surface**: A non-stick coating ensures that your waffles come out easily without leaving half of it stuck to the plates. Look for models that are easy to clean as well.
2. **Temperature Control**: Adjustable temperature settings allow you to customize the crispiness of your waffles. Some prefer a golden brown, while others might enjoy a darker, crunchier finish.
3. **Indicator Lights**: A waffle maker with indicator lights lets you know when it’s hot enough to pour in the batter and when the waffles are done. This feature can take the guesswork out of cooking.
4. **Size and Storage**: Consider how much space you have in your kitchen. A compact waffle maker is a great option for small kitchens, while larger models might be better suited for families.
How to Make the Perfect Waffle
Now that you’ve selected your waffle maker, it’s time to whip up a batch of delicious waffles. Follow these simple steps to achieve waffle perfection:
1. **Choose Your Batter**: Whether you prefer traditional buttermilk, chocolate, or a gluten-free option, the batter is crucial. A basic recipe includes flour, baking powder, sugar, salt, milk, eggs, and melted butter.
2. **Preheat Your Waffle Maker**: Turn on your waffle maker and allow it to preheat. This step is vital for achieving that perfect golden crust.
3. **Grease if Necessary**: Depending on your waffle maker, you may need to lightly grease the plates with butter or oil. This prevents sticking and enhances flavor.
4. **Pour and Spread**: Once preheated, pour the batter into the center of the waffle maker. Use a spatula to gently spread it out, but don’t overdo it! The batter will expand as it cooks.
5. **Cook to Perfection**: Close the lid and let your waffle cook. Keep an eye on the indicator light, and resist the urge to peek too soon! Each model varies, but most take about 3-5 minutes.
6. **Serve and Enjoy**: Once done, carefully remove the waffle and serve it with your favorite toppings. Maple syrup, fresh fruit, or even ice cream—let your imagination run wild!
Maintenance Tips for Longevity
To keep your waffle maker in tip-top shape, follow these maintenance tips:
– **Clean After Each Use**: Allow the device to cool down before wiping it down with a damp cloth. For stubborn batter, a soft brush can help.
– **Store Properly**: If your waffle maker is bulky, consider storing it upright to save space. Ensure it’s completely dry before putting it away.
– **Avoid Abrasives**: Never use steel wool or abrasive cleaners. They can scratch the non-stick coating and reduce the lifespan of your waffle maker.
Conclusion
Investing in a waffle maker is not just about making breakfast; it’s about creating cherished moments with family and friends. Whether you opt for a classic Belgian style or a mini version for fun-sized delights, the possibilities are endless. With the right tools and techniques, you can transform simple ingredients into mouthwatering masterpieces. So, why wait? Dive into the world of waffle making and elevate your breakfast game today!
FAQs
1. Can I use pancake batter in a waffle maker?
Absolutely! Pancake batter works well in waffle makers, but you may want to adjust the cooking time slightly since waffles may take longer to cook.
2. How do I know when my waffles are done cooking?
Most waffle makers have indicator lights that signal when they’re ready to cook and when the waffles are done. If yours doesn’t, look for a golden brown color and steam production to gauge doneness.
3. Can I make savory waffles in my waffle maker?
Yes! Get creative with your batter by adding ingredients like cheese, herbs, or even vegetables to create delicious savory waffles. They make for a unique brunch option!